Documentation | Lloyd's Online TR-808 Drum Machine
Table of Contents
- Getting Started
- Interface Overview
- Step Sequencer
- Controls
- Accent Track
- Sound Selection
- Muting Tracks
- Hi-Hat Choke Groups
- Pattern Management
- Saving & Loading Patterns
- Preset Patterns
- Live Audio Recording
- Individual Track Export (Stems)
- MIDI Export
- Drag to Select Steps
- Keyboard Shortcuts
- Mobile Usage
- FAQ
Getting Started
Lloyd's Online TR-808 Drum Machine is a web-based application that recreates the classic sounds and sequencing functionality of the legendary Roland TR-808 Rhythm Composer. This documentation will help you understand how to use the drum machine to create your own beats.
No installation or downloads are required. The drum machine runs directly in your web browser using standard web technologies.
Interface Overview
The drum machine interface consists of the following main components:
- Transport Controls: Play/pause and stop buttons to control playback
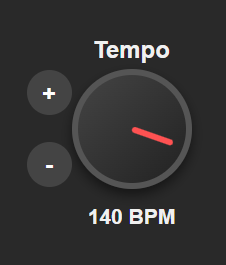
- Tempo Control: Adjustable knob to set the playback speed (BPM)
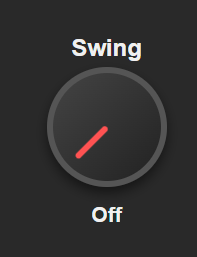
- Swing Control: Adds rhythmic swing to your patterns
- Pattern Controls: Clear, undo, and redo buttons for pattern management
- Save/Load Controls: Buttons to save and load your patterns as JSON files
- Saturation Controls: Options to add analog-style warmth to the sounds
- Accent Track: A special track to add emphasis to certain steps
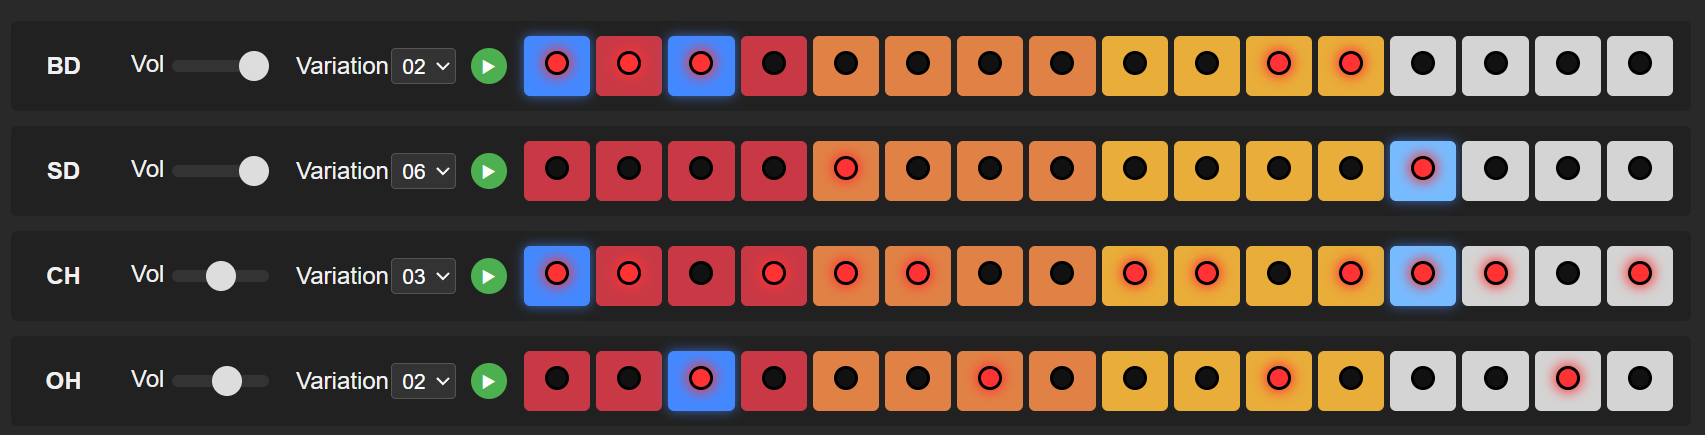
- Drum Tracks: Individual instrument tracks with step sequencers
- Sound Selectors: Dropdown menus to choose different sound variations
- Volume Controls: Sliders to adjust the volume of each instrument
The main grid displays the step sequencer where you can create your drum patterns by clicking on steps to activate or deactivate them.
Step Sequencer
The step sequencer allows you to create patterns with different step lengths. You can choose between 16, 32, or 64 steps, giving you more flexibility to create complex or longer patterns.
Step Mode
The step mode feature allows you to choose between different pattern lengths:
- 16 Steps - The standard single-bar pattern (4/4 time signature)
- 32 Steps - An extended two-bar pattern
- 64 Steps - A comprehensive four-bar pattern
When using 32 or 64 steps, your pattern will be divided into multiple pages (2 pages for 32 steps, 4 pages for 64 steps). You can navigate between these pages using the previous and next buttons.
Auto-Scroll Feature
When working with longer patterns (32 or 64 steps), you can control how the sequencer interface behaves during playback:
- Auto-Scroll ON (default) - The interface automatically follows the playback, changing pages as needed to show the currently playing steps.
- Auto-Scroll OFF - The interface stays on your selected page regardless of what's playing, allowing you to edit different parts of the pattern while playback continues. This is especially useful when recording your pattern to WAV.
The Auto-Scroll toggle is only available when using 32 or 64 steps. For 16-step patterns, it remains disabled as there's only one page to display.

Using the Sequencer
- Click on a step to activate it (the step will light up)
- Click again to deactivate it
- Use the Play button to hear your pattern
- The drum sound will play when the sequencer reaches an active step
- For longer patterns, use the page navigation buttons to access additional steps
Different colored sections represent beat divisions to help you visualize the pattern structure.


Drag to Select Multiple Steps
You can click and drag across multiple steps to activate or deactivate them at once:
- Click on a step to select it (this determines whether you're activating or deactivating)
- Keep the mouse button pressed and drag across other steps
- All steps you drag over will be set to the same state as your initial click
This makes it much faster to create patterns or clear sections of your beat.
Changing Pattern Length
When you change the pattern length (e.g., from 16 to 32 steps), the existing pattern is preserved and copied to the new length. This allows you to extend your pattern without losing your work. When reducing the length, only the steps that fit within the new length are kept.
Step Mode
The Step Mode feature allows you to choose between different pattern lengths: 16, 32, or 64 steps. This gives you the flexibility to create either compact one-bar patterns or more complex, multi-bar sequences.
- 16 Steps: Standard one-bar pattern (classic TR-808 style)
- 32 Steps: Extended two-bar pattern, allowing for variations between bars
- 64 Steps: Long four-bar pattern, perfect for complex progressions or full song sections
When using longer patterns (32 or 64 steps), you can navigate between pages using the navigation controls. Each page displays 16 steps at a time. The auto-scroll feature can be toggled to automatically follow the playback position or allow manual browsing during playback.
Controls
Transport Controls
- Play/Pause: Starts or pauses the sequencer playback. The button changes its appearance to show the current state.
- Stop: Stops the sequencer playback and resets to the beginning. The button is disabled until playback starts.

Tempo Control
The tempo knob allows you to adjust the playback speed from 50 to 200 BPM (beats per minute). You can:
- Drag the knob to adjust the tempo
- Use the + and - buttons for precise 1 BPM adjustments
The current BPM value is displayed below the knob.
Swing Control
The swing knob adds a "groove" feel to your pattern by delaying every other sixteenth note. A value of 0% (fully left) means no swing, while increasing the value adds more swing, up to a maximum.
Swing is what gives many classic hip-hop and electronic tracks their characteristic bouncy feel. Experiment with different swing amounts to change the feel of your pattern without changing the actual notes.
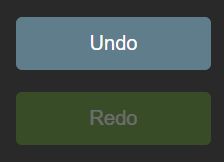
Pattern Controls
- Clear Pattern: Removes all active steps from the current pattern
- Undo: Reverts the last change made to the pattern
- Redo: Restores a previously undone change

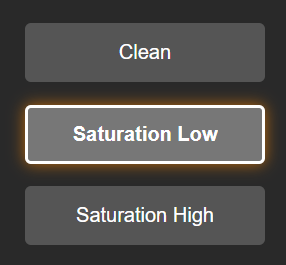
Saturation Controls
- Clean: No saturation, clean sound
- Saturation Low: Light saturation for subtle warmth
- Saturation High: Heavy saturation for more analog character
Saturation emulates the warm, slightly distorted sound of analog circuits that made the original TR-808 famous. Higher saturation gives a more vintage, "dirty" sound.
Accent Track
The accent track is a special row at the bottom of the sequencer that allows you to add emphasis to specific steps in your pattern, just like the original TR-808.
How Accent Works
- When you activate a step in the accent track, all instrument sounds that play on that step will be louder (20% volume increase)
- Accented steps are highlighted with a special color in the sequencer grid
- This feature lets you create more dynamic and interesting patterns by emphasizing certain beats
Accent is perfect for emphasizing the downbeats (like the first beat of each bar) or creating dynamic patterns with varying intensity.

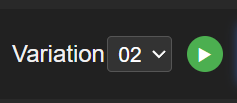
Sound Selection
Each drum track has a sound selection dropdown labeled "Variation" that allows you to choose from different variations of that instrument's sound. The number of available variations depends on the specific instrument.
You can preview a sound by clicking the play button (▶) next to the variation selector.
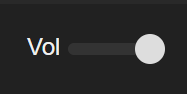
Volume Control
Each track has a volume control slider labeled "Vol" that allows you to adjust the relative volume of that instrument from 0.0 (silent) to 1.0 (full volume).
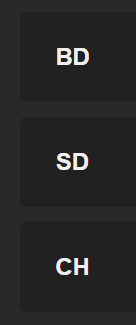
Muting Tracks
You can mute individual drum tracks to temporarily silence them without deleting their patterns. This is useful for focusing on specific elements of your beat or creating breakdowns.
How to Mute a Track
- Click on the track name (e.g., "Bass Drum", "Snare", etc.) to toggle mute on/off
- When a track is muted:
- The track name appears grayed out
- A small mute icon (🔇) appears next to the name
- The track won't produce sound during playback
- Click the track name again to unmute it
When you mute a track, the drum machine remembers its volume setting. When you unmute it, the volume returns to its previous value.
Hi-Hat Choke Groups
The drum machine implements realistic hi-hat behavior with "choke groups", mimicking how hi-hats work on the original TR-808 and in real life.
What Are Choke Groups?
In a real drum kit, when you press the pedal on a hi-hat, the two cymbals close together, cutting off (or "choking") any open hi-hat sound that was ringing out. The drum machine recreates this behavior:
- When a closed hi-hat plays, it automatically cuts off any currently playing open hi-hat sound
- This creates a more realistic hi-hat performance, especially when both open and closed hi-hats are used in the same pattern
- The open hi-hat won't choke the closed hi-hat (just like on a real drum kit)
This feature is especially important for creating authentic sounding hi-hat patterns with both open and closed sounds.
Pattern Management
The drum machine includes undo/redo functionality that allows you to experiment freely without losing your work. The undo history tracks the following actions:
- Toggling individual steps
- Clearing the pattern
- Changing instrument variations
- Adjusting volume levels
- Changing tempo and swing settings
- Toggling accent steps
- Muting and unmuting tracks
Use the Undo and Redo buttons to navigate through your pattern history. These buttons will be disabled when there are no actions to undo or redo.
Saving & Loading Patterns
You can save your drum patterns to your computer and reload them later, or share them with others.
Saving a Pattern
- Click the "Save Pattern" button
- Your web browser will download a JSON file containing your pattern
- The file will be named "808-pattern.json"
Loading a Pattern
- Click the "Load Pattern" button
- A file browser will open
- Select a previously saved pattern file (.json)
- The pattern will load, replacing your current pattern
The saved pattern includes all aspects of your beat:
- Which steps are active for each instrument
- Volume settings for each track
- Selected sound variations
- Tempo and swing settings
- Accent patterns
- Mute states of each track
- Step mode setting (16, 32, or 64 steps)

Preset Patterns
The drum machine includes a collection of preset drum patterns created by some of the most renowned Electro artists in the scene. These artists have specially crafted patterns for this webapp, giving you access to authentic Electro beats that you can use as starting points for your own creations.
Featured Artists
The preset collection features patterns from legendary Electro artists including:
- Anthony Rother: Pioneer of the German Electro sound, known for his distinctive robotic and futuristic beats
- Legowelt: Dutch producer celebrated for his unique blend of Electro, House, and Techno with vintage synthesizer aesthetics
- Carl Finlow: British Electro innovator whose patterns showcase the classic 808 sound with modern production techniques
Using Preset Patterns
To access the preset patterns:
- Look for the Presets dropdown menu in the interface
- Click on the dropdown to see all available preset options
- Select any preset to automatically load that pattern into the sequencer
- The pattern will replace your current sequence, so make sure to save any work you want to keep
Each preset comes with the artist's signature drum programming, including carefully crafted step sequences, accent patterns, and tempo settings that capture the essence of their unique style.

Learning from the Masters
These preset patterns are not just ready-to-use beats - they're also excellent learning tools. Study how these artists use the TR-808 to create their signature sounds:
- Observe their accent placement and how it creates groove and dynamics
- Notice the balance between different drum elements and how they work together
- Learn from their tempo choices and how they complement different musical styles
- See how they utilize the step sequencer to create complex, evolving patterns
Use these presets as inspiration for your own productions, or modify them to create unique variations that reflect your personal style while building on the foundation of these Electro legends.
Live Audio Recording
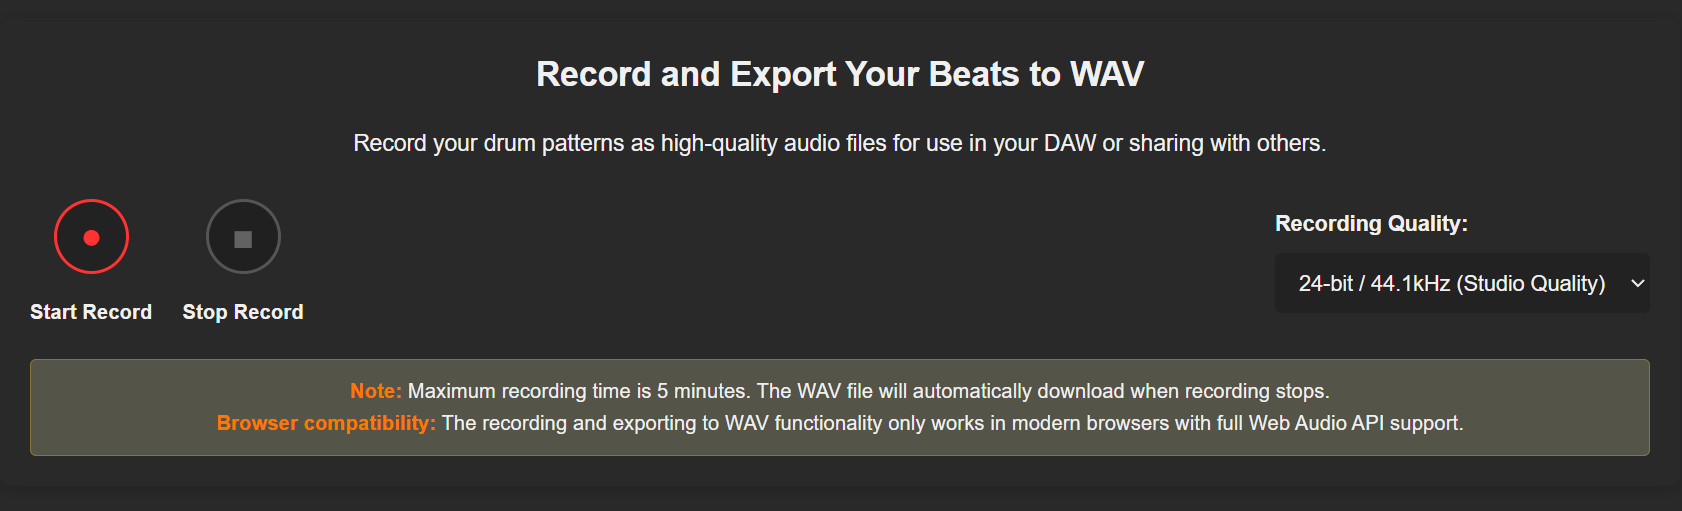
The drum machine offers live audio recording functionality, allowing you to record your performance in real-time. You can interact with the drum machine while recording, making changes to patterns, muting tracks, and adjusting controls for dynamic performances.
Recording a Live Performance
- Select your preferred quality settings from the dropdown menu
- Click the red record button (●) in the recording section
- Recording starts immediately:
- If the sequencer is not playing, it will start automatically
- The record button pulses red to indicate active recording
- Stop recording by:
- Clicking the stop record button (■)
- Clicking the sequencer's stop button
- Your browser will automatically download a WAV file with the current BPM, bit depth and sample rate in the filename (e.g., "Lloyd-Stellar-808-Beat-130BPM-24bit-44.1kHz.wav")
Recording Quality Options
- 16-bit / 44.1kHz: CD quality, good for most uses
- 24-bit / 44.1kHz: Studio quality (default), better dynamic range
- 16-bit / 48kHz: DAW standard, compatible with most video production
- 24-bit / 48kHz: Professional quality, ideal for further processing
Important Notes
- Maximum recording time is limited to 5 minutes
- All effects (including saturation mode) are captured in the recording
- The current tempo (BPM) is included in the filename for easy reference
- The recording function requires a modern browser with full Web Audio API support
- For best results, use Chrome, Firefox, Edge, or Safari (latest versions)
The recorded audio files can be directly imported into your DAW (Digital Audio Workstation) or shared with others to showcase your beats in the highest quality.
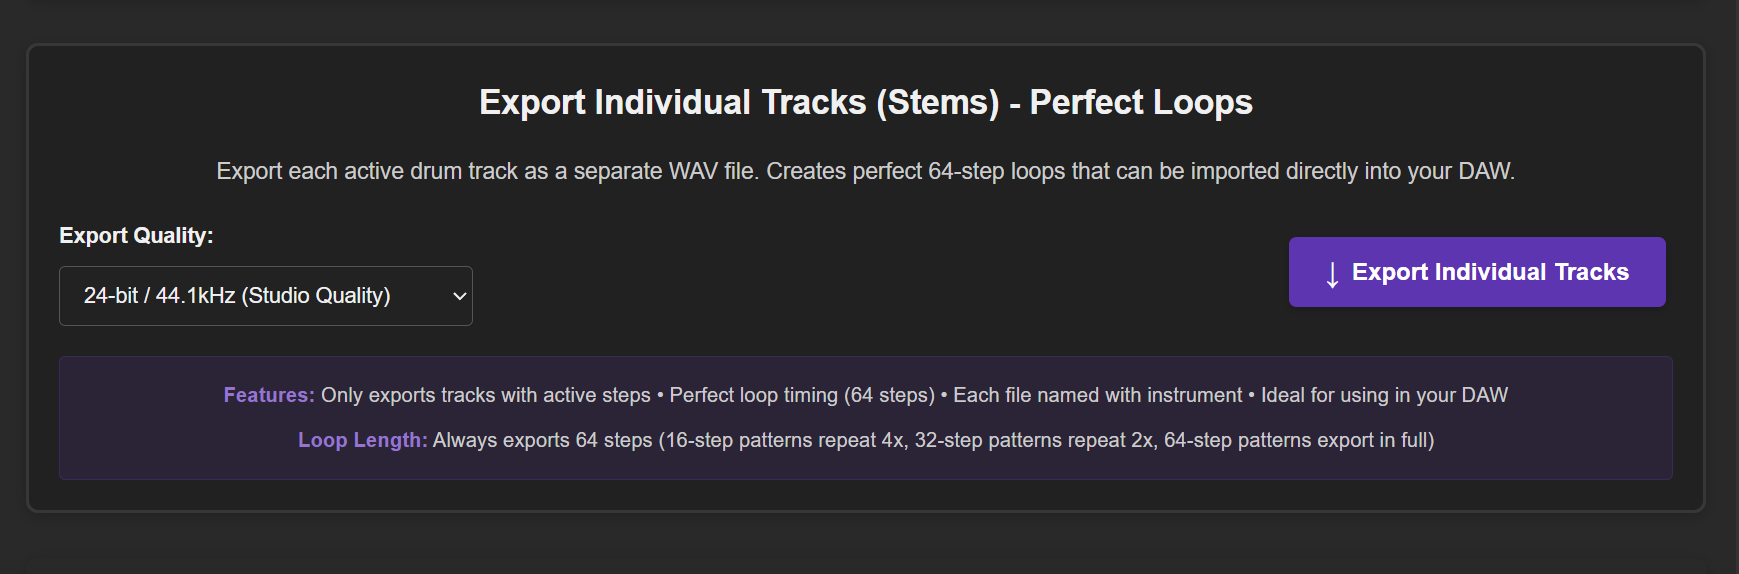
Individual Track Export (Stems)
The Individual Track Export feature allows you to export each active drum track as a separate WAV file. This is perfect for remixing, stem mastering, or using individual drum sounds in your DAW. Unlike live recording, this feature renders perfect loops with precise timing.
Key Features
- Automatic Track Detection: Only exports tracks that have active steps in your pattern
- Perfect Loop Timing: Always exports exactly 64 steps for seamless looping in your DAW
- Intelligent Pattern Repetition:
- 16-step patterns are repeated 4 times
- 32-step patterns are repeated 2 times
- 64-step patterns are exported in full
- Descriptive Filenames: Each file is named with the instrument abbreviation, BPM, and domain (e.g., "BD-120BPM-lloydstellar.nl.wav")
How to Export Individual Tracks
- Create your drum pattern using the step sequencer
- Select your preferred export quality from the dropdown menu (same options as live recording)
- Click the "Export Individual Tracks" button
- A progress popup will appear showing:
- The current track being exported
- A progress bar indicating completion percentage
- Which instrument is currently being processed
- Each track will be automatically downloaded as a separate WAV file
- The export completes when all active tracks have been processed
Export Quality Options
- 16-bit / 44.1kHz: CD quality, standard for most applications
- 24-bit / 44.1kHz: Studio quality (default), provides better dynamic range
- 16-bit / 48kHz: DAW standard, compatible with video production
- 24-bit / 48kHz: Professional quality, ideal for high-end production
Technical Details
- Perfect Loop Points: The export ensures that the WAV file starts exactly at the first step with no leading silence, and ends precisely to allow seamless looping
- Accent & Swing Preserved: All accent patterns and swing settings are accurately rendered in the export
- Volume & Effects: Track volumes and saturation modes are applied during export
- Muted Tracks Excluded: Muted tracks are automatically skipped during export
Use Cases
- Stem Mastering: Export individual tracks to apply different processing to each drum element
- Remixing: Provide separate drum stems for remix projects
- DAW Integration: Import individual loops into your DAW for further arrangement and processing
- Sample Libraries: Create your own drum loop collections with separate elements
- Live Performance: Load individual loops into samplers or drum machines for live sets
Tips for Best Results
- Ensure your pattern is complete before exporting - the export captures the current state of all tracks
- Use higher quality settings (24-bit) if you plan to do further processing in your DAW
- The 64-step loop length ensures compatibility with most DAWs' standard loop lengths
- Check that no tracks are accidentally muted before exporting
- Be patient during export - processing multiple high-quality tracks takes a moment
MIDI Export
In addition to recording WAV audio, you can also export your drum patterns as MIDI files for use in your Digital Audio Workstation (DAW) or hardware drum machines.
Exporting a Pattern as MIDI
- Select your target platform from the dropdown menu in the MIDI Export section
- Click the "Export MIDI" button
- Your browser will automatically download a MIDI file with the current tempo in the filename
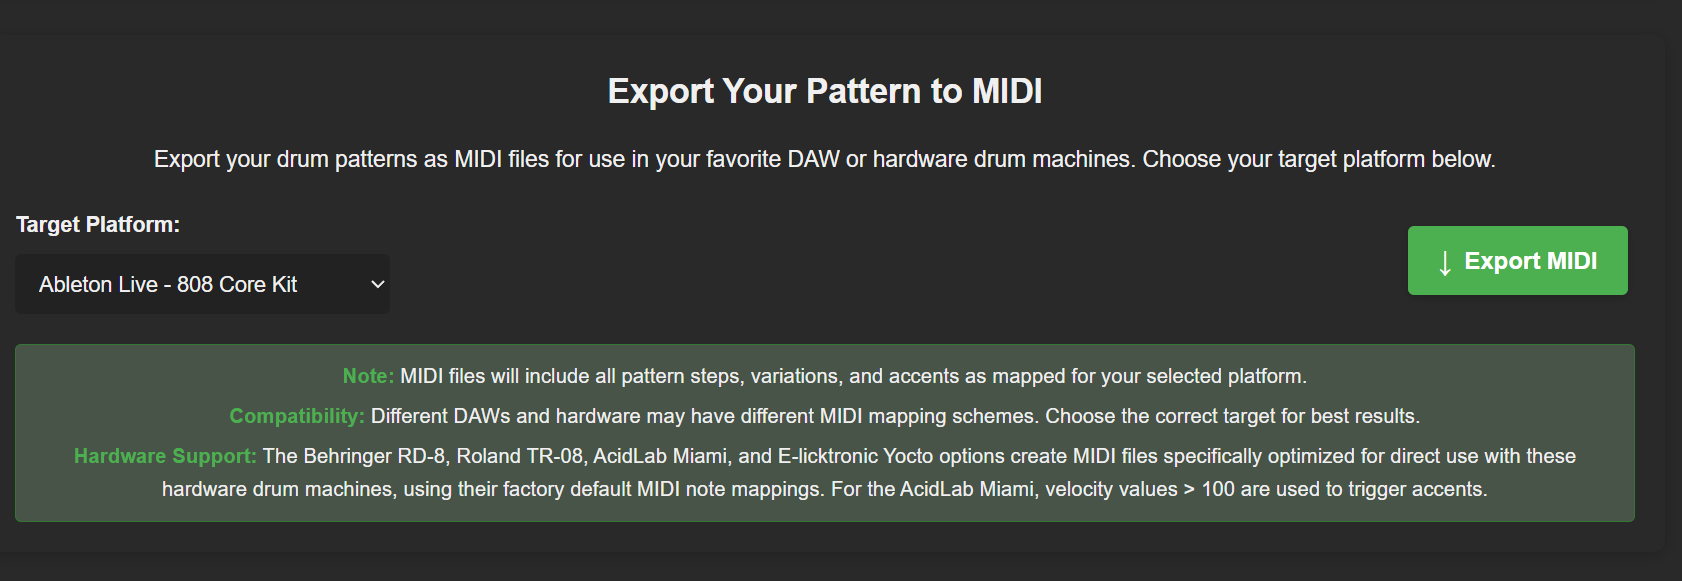
Available Target Platforms
The drum machine supports exporting MIDI files optimized for the following platforms:
Software
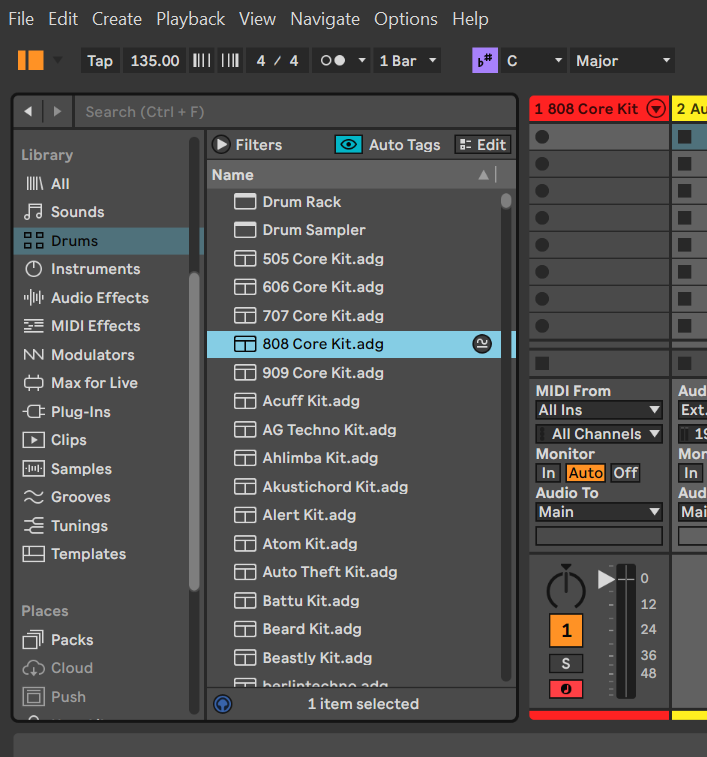
- Ableton Live - 808 Core Kit: Compatible with Ableton Live's built-in 808 Core Kit Drum Rack
Hardware Drum Machines
- Behringer RD-8: A modern, affordable recreation of the classic TR-808 with expanded connectivity and MIDI implementation.
- Roland TR-08: Roland's Boutique series recreation of the TR-808 with authentic sounds and modern features in a compact format.
- AcidLab Miami: A premium analog drum machine inspired by the TR-808 with enhanced sound sculpting capabilities.
- E-licktronic Yocto: A DIY-friendly analog drum machine kit with Roland TR-808 inspired sounds and full MIDI control.
Using Exported MIDI Files with Hardware
The exported MIDI files are optimized for each target platform using their specific MIDI note mappings. To use them with your hardware:
- Transfer the MIDI file to your hardware directly (if supported) or via a computer/sequencer
- Load the MIDI file into your hardware sequencer or DAW that's connected to your drum machine
- Ensure your hardware is set to receive on the correct MIDI channel (typically channel 10 for drums)
- Play the sequence from your sequencer or DAW to trigger the hardware sounds
MIDI Note Mapping
Each target platform has specific MIDI note mappings to ensure that your pattern plays back correctly on the intended device. The drum machine automatically uses the correct mapping based on your selection.
Special Features
The MIDI export includes several special features to ensure compatibility with various platforms:
- Accented Steps: Exported as higher velocity notes (typically 10-25% louder)
- AcidLab Miami: Uses velocity values >100 to trigger the hardware's accent function
- Tempo Information: The current BPM is included in both the MIDI file's metadata and filename
- Pattern Length: All pattern steps (16, 32, or 64) are properly exported to the MIDI file
- Muted Tracks: Any tracks that are muted in the drum machine are not included in the MIDI export
Troubleshooting
If you experience issues with your exported MIDI files:
- Make sure you've selected the correct target platform for your hardware or software
- Check that your hardware is set to the default factory MIDI mapping
- Verify that your hardware or software is set to receive on the correct MIDI channel
- Ensure your sequencer or DAW is correctly connected to your hardware (if applicable)
Drag to Select Steps
To make pattern creation faster and more intuitive, you can activate or deactivate multiple steps at once by clicking and dragging.
How to Use Drag Selection
- Click on a step to set the initial state (active or inactive)
- While holding the mouse button down, drag horizontally across other steps
- All steps you cross over will be set to match your initial click
For example, if you click on an inactive step and then drag, all steps you drag across will become active. If you start on an active step, all steps will become inactive.
This works for both regular instrument steps and accent steps, making it much quicker to create complex patterns.
Keyboard Shortcuts
The drum machine supports the following keyboard shortcuts:
| Key | Action |
|---|---|
| Space | Play/Pause toggle |
| Ctrl + Z | Undo last action |
| Ctrl + Y | Redo last undone action |
| C | Clear pattern |
Keyboard shortcuts make the drum machine faster to use, especially when you're working on complex patterns or need to quickly start/stop playback.
Mobile Usage
The drum machine is designed to be responsive and works on mobile devices. However, for the best experience, we recommend using the drum machine application in landscape orientation on tablets and smartphones.
If you're using a mobile device in portrait mode while accessing the main drum machine interface, you'll see a message suggesting you rotate your device. We strongly recommend following this advice, as the landscape orientation provides a much better view of all sequencer steps and controls.
Note: This documentation page is fully responsive and can be viewed comfortably in either portrait or landscape orientation on your mobile device.
Documentation vs. Drum Machine: While this documentation page works in portrait mode, the main drum machine application requires landscape orientation for optimal usability. This difference allows you to read about features in portrait mode on your phone, but when you're ready to create beats, we recommend rotating to landscape mode.
When using a mobile device with the drum machine:
- Touch and hold on a step, then drag to select multiple steps
- Tap the track name to mute/unmute tracks
- Use the left side area next to the step sequencer to scroll up and down with one finger
On smaller screens, some labels may be abbreviated (e.g., "Var" instead of "Variation") to save space.
FAQ
What is the TR-808?
The Roland TR-808 Rhythm Composer was a drum machine introduced in 1980 that became known for its distinctive electronic drum sounds. Despite being discontinued after only a few years, it became one of the most influential instruments in the development of hip-hop, electronic, and dance music.
How do accent steps work exactly?
When you activate an accent step, any drum sound that plays on that step will be played at 120% of its normal volume. Steps without accent play at 90% of their set volume. This creates a dynamic contrast that makes your beats sound more lively and less mechanical.
Why does the closed hi-hat cut off the open hi-hat?
This is how real hi-hats work! When you press the foot pedal on a real hi-hat (closed hi-hat), it physically stops the open hi-hat from ringing. The original TR-808 had a special "choke circuit" that recreated this behavior, and our drum machine does the same for authenticity.
Can I save my patterns between browser sessions?
Yes, use the Save Pattern button to download your pattern as a JSON file. You can then reload it later using the Load Pattern button. Your patterns are not automatically stored in your browser.
Does this work on all browsers?
The drum machine works best on modern browsers like Chrome, Firefox, Safari, and Edge. It requires HTML5 and Web Audio API support.
What if I hear no sound?
Some browsers require a user interaction (like a click) before they'll play audio. If you hear no sound, try clicking anywhere on the page first. Also check that your device's volume is turned up and not muted.